
 A wood box will be constructed to cover all sides including top and bottom. An opening in the top wood piece will fit close around the container's opening. Slices of grape vine trunk are affixed, one to each flat side and a smaller variety of Manzanita sections will cover the remaining surface area. A black resin will be used to fill space between all wood pieces.
After the resin has cured all surfaces will be sanded smooth and flat. The corners will be rounded. As a result of this sanding, areas will be exposed where the resin hasn't completely filled spaces between woods segments. Refilling and sanding solves that problem.
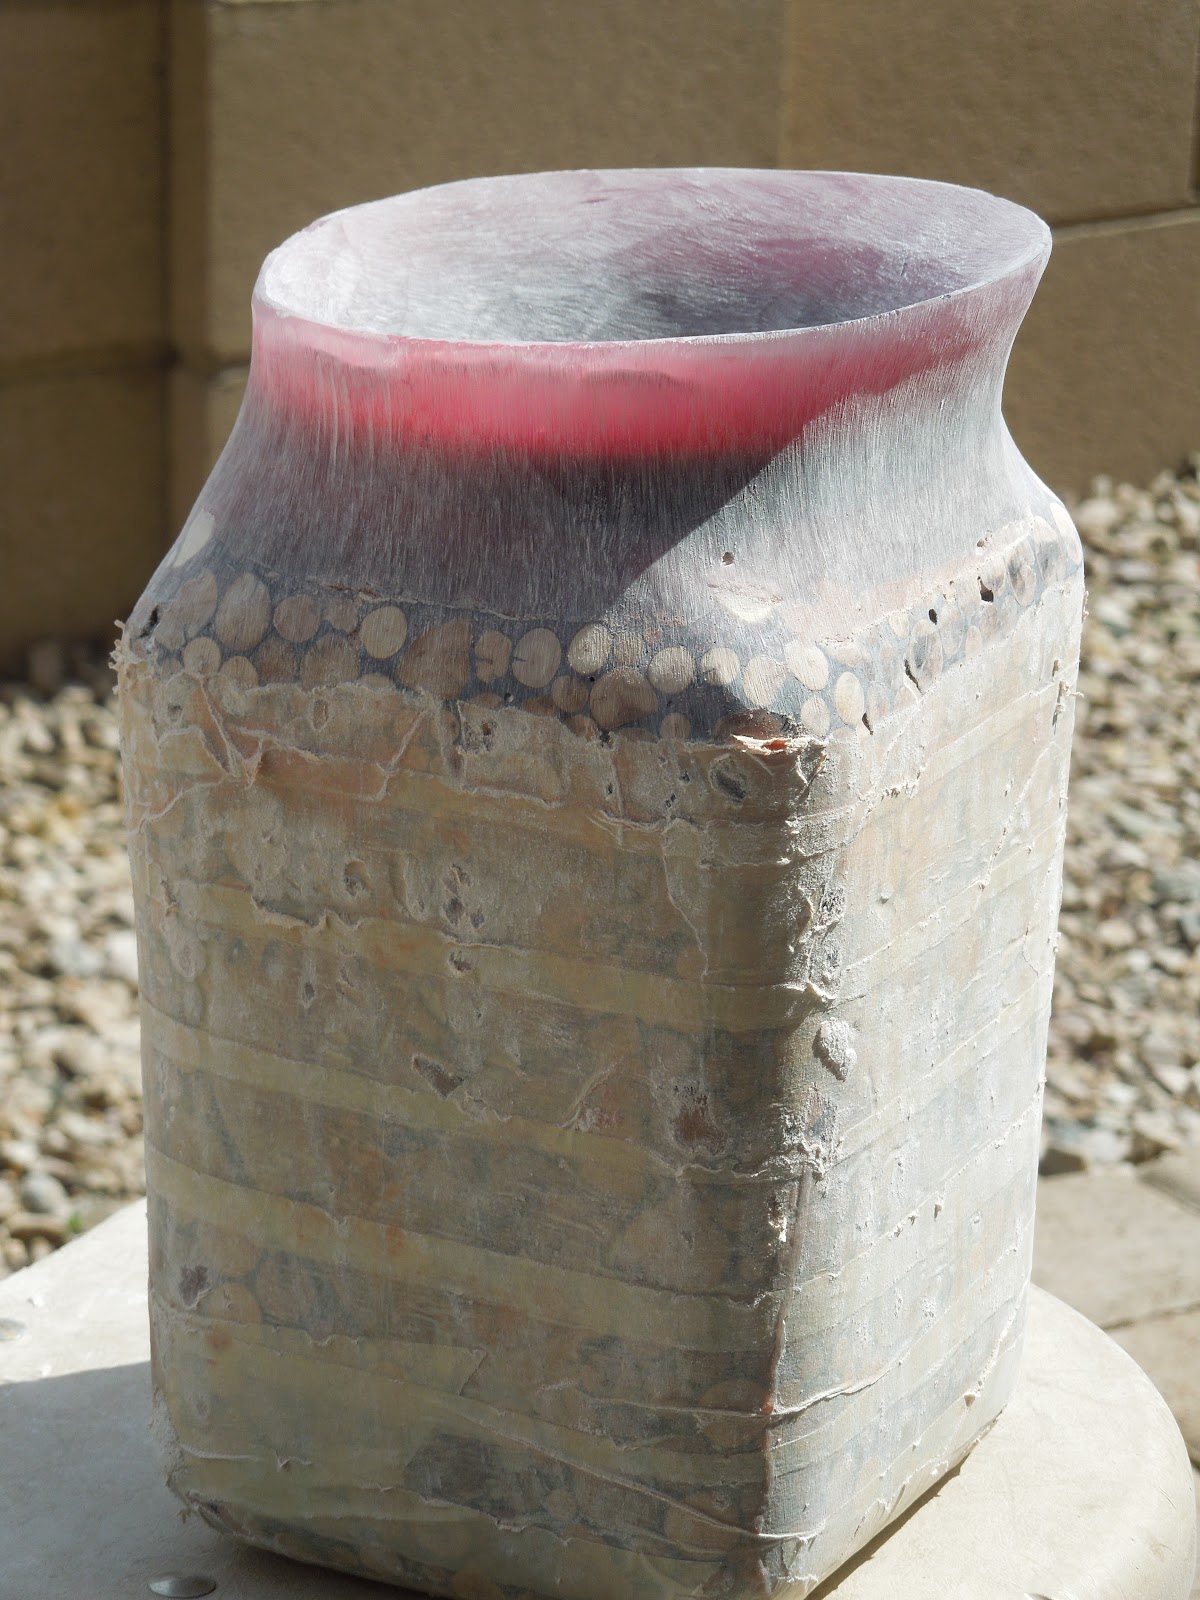
The sanded surfaces will be covered with masking tape for protection as we shape a clay model of the top and cast a plaster mold over it. When the clay is removed the mold will be filled with tinted red and blue resin that results in the variegated lavender cast top. The mold is ground away and the finish sanding begins. When the tape comes off there are always little spots that need repair, but that is easy with matching colored resin. The key to a beautiful piece is not to stop sanding too soon. Sanding is the process of turning big scratches into small ones.
The finish I like and have used on most of my wood art pieces is several coats of oil rubbed in; and finish with at least two coats of paste wax, buffing each coat before applying the next. This gives a finish that can be spot refinished if damage occurs and it will blend perfectly.
 So there you have it: e-P Vessel II. I have been thinking about writing a book about this series when I have more pieces finished. It seems like an endless subject. I would give more detailed information about the construction, similar to the e-P Vessel I, as covered in my other book, "Unique Vessels: How do you make those things?" You can check that out in my book shown on this blog. Other vessels are shown on my web site. Watch for other e-P Vessel's posted here and on facebook and Pinterest.
Edwin K. Hill
apatchablue3@comcast.net
Web site; apatchablue.com
Blog: Apatchablue Studio
Pintrset: (to be announced)
No comments:
Post a Comment